Exciting changes are coming!

Over the past few years I have have grown in so many ways. I decided last year to make my health a priority and have lost close to 70 pounds. I am off several medications and feel so much better. This year I decided it would be my year of joy. I would do things that make me happy and be around those that bring me joy. I have been purging my house of old unwanted things and replacing them with items that make me smile.

In turn my crafting has changed as well. While I love making cards, I have found great joy in scrapbooking again and I have found a new way to papercraft in junk journaling. These outlets really make my creativity shine and my heart full.

With all this said I have decided to completely rebrand myself with a new name, website and logo to match my new attitude and crafting style.

I have enlisted the help of a fantastic web designer who will be helping me on this journey. It will be a fresh clean look, uncluttered and easy to navigate.

My hope is that it will be a place to come and learn, try new things and feel like you are visiting an old friend for a day of creating.

I will be offering different things both in person and online, things I hope will inspire your creativity.

I cannot wait until I unveil this new website, and for you to join me in Jo’s Craft Corner.

Happy Stamping!

Jo ❤️

Bye..Bye..Bye

With the anticipation of the new Spring Mini Catalog also comes the sadness of saying good bye to some of our favorites from the Fall/Winter Mini Catalog.  If there are any items on the retired list that have been on your wish list, now is the time to get them before they are gone!

Between November 21, 2023 and January 3, 2024 you can order products on the retired list with some discounted as much as 60%!!

Promotion Details:

  • Not all items on the Last Chance Products List will be discounted.
  • All products are available while supplies last, and there are no purchase limits.
  • Discounted items can be added to a Starter Kit and redeemed as a 50% off item or with Stampin’ Rewards.
  • Stamp sets are not guaranteed during this promotion and are while supplies last.
  • Discounts are automatically applied when sale items are added to any order, including Starter Kits.

SHOP NOW 

If you have any questions please reach out. I am here to help!

Happy Stamping!

Joanne

~Making the world a happier place one card at a time

Hello Autumn!

One of my favorite suites in the September – December Mini Catalog is the All About Autumn Sweet (#162193 $105.75 USD). Fall is my favorite season so it’s no surprise I was drawn to this suite. It features the Autumn Leaves stamp set, matching dies, copper and natural ribbon combo pack, Distressed Tile 3D embossing folder, Oxidized Copper 12 x 12 Designer Series Paper and All About Autumn 6 x 6 Designer Series Paper (all products can be purchased separately).

I had so much fun creating with this suite, and this is one card that gets a lot of compliments.

I used Pretty Peacock for the card base with the same color panel embossed with the Distressed TIle 3D embossing file. To get the emphasize the distressed look of the embossed panel I used Metallic Copper Enamel Effects. It really brings out the copper in the leaf and veins.

How to create the distressed background using Metallic Copper Enamel Effects

I attached the panel to the main card with dimensionals to make it pop a bit. Then from the Distressed Oxidized Copper DSP I cut one large leaf and two mall leaves and the veins from the Pretty Peacock and Copper DSP. After attaching the veins with mono glue I added it to the card front again with dimensionals. The saying “Autumn teaches us that change can be beautiful” was stamped on Very Vanilla cardstock using Pretty Peacock ink, then cut out using the frame in the Autumn Leaves dies. To add a little sparkle I used 2023 – 2025 In Color Dots on the saying.

For the inside I stamped “I’m Thankful” on Very Vanilla using Pretty Peacock. I added the two remaining leaves to tie it all together.

Cutting Directions:

  • Pretty Peacock card stock – cut 5 1/2″ x 8 1/2″, score at 4 1/4″
  • Pretty Peacock card stock – cut 4″ x 5 1/4″
  • Very Vanilla – cut 4″ x 5 1/4″
  • Copper Oxidized DSP – cut 3 1/4″ x 5″ (the large leaf and two small leaves can fit on this piece)
  • Pretty Peacock & Copper Oxidized DSP – cut 3″ x 4″
  • Scrap piece Very Vanilla at least 1 1/2″ x 2″

Supplies Used:

Oh Bee-Hive!

IMG_0685

One of my favorite sets in the 2020 January – June Mini Catalog is Honey Bee.  It coordinates with the Detailed Bees dies and will be one of the sets retiring on June 2, 2020.  The Golden Honey DSP was a Sale-A-Bration gift at the $50 level and is no longer available but there is still a way to receive a pack of this gorgeous paper.  See the contest below for all the details!

I didn’t stamp too much on this card because I wanted the detail in the DSP to showcase the card.  Also I didn’t use the dies so it is perfect for a beginning or casual stamper.  To step it up you could die cut the bee on the front and attach with dimensionals to give it some depth.  

IMG_0680

For the card base I didn’t use a full piece of cardstock.  When closed it gives the illusion of a full card but when you open the flap you have the greeting hiding behind the bee and another layer of DSP with ribbon so the inside is as pretty as the front.

IMG_0682

Card Dimensions:

  • Basic Black cardstock – 5 1/2″ x 6 3/8″, score at 4 1/4″
  • Whisper White cardstock 2 1/2″ x 2 1/2″ – cut two
  • Gold Foil – 2″ x 5 3/8″ and 2 5/8″ x 2 5/8″
  • Black Foil – 2 5/8″ x 2 5/8″
  • Black & Gold Honeycomb DSP 1 7/8″ x 5 1/4″
  • Bee and flower DSP 4″ x 5 1/4″
  • Gold metallic-edge ribbon 5″

Directions:

  • Stamp the bee on a small Whisper White square using Black Stazon ink with the greeting above. Color the bee body with a Crushed Curry Stampin’ Write marker.  Add some shimmer to the wings with Wink of Stella.
  • Stamp the flowers on the other Whisper White square again using the Stazon ink.  Color with the Crushed Curry marker.
  • To create the coordinating black ribbon, lay the ribbon on your grid paper, place a sheet of cardboard behind it.  Taking a Basic Black blend color the Gold Edged ribbon, set aside to dry.  Since the Blends are alcohol based they dry pretty quick.  This works for any light colored ribbon, using this technique you can always have ribbon to match your projects!
  • Attach the honeycomb DSP to the gold foil panel and then place on the flap on the left of the card front
  • Attach the bee panel to the gold foil square then attach to the flap in the center as shown, taking care to only put adhesive on the RIGHT side.  That way the card will open.
  • Wrap the ribbon around the bee and floral DSP attaching to the panel in the back.  Attach entire panel to the inside of the card.
  • Adhere the inside greeting to the black foil square then to the center of the card, making sure the outer greeting completely covers this panel.  This will hide the “surprise” for the recipient.

Try using the ribbon technique and fold with other stamp sets and Designer Series Paper, I would love to see what you come up with!  Send me your creations and I will display them in my customer gallery!

Supplies Used:

Additional Supplies:

How to win a package of the Golden Honey DSP

Love the Golden Honey DSP but didn’t get a package when Sale-A-Bration was going on?  Well now is your chance!  All you have to do is:
  • purchase the Honey Bee Bundle or the Honey Bee Stamp Set and
  • use Hostess code DJPSQ474 when placing your order and
  • you will be placed into a drawing to win a package of Golden Honey DSP!

BONUS: When using the Hostess Code DJPQ474 and placing an order $35 or more you will receive a DSP sampler pack as a free gift as a thank you for supporting my business!

The winner will be announced on June 3rd and the DSP pack will be shipped to the address on your order.  Be sure to place your order soon, retiring products are only available until June 2, 2020 or while supplies last.

b78451ae2c7de48e7f0b0db503304669

SHOP WITH JO

If you have any questions on the project featured, please let me know. I would be happy to help!

Happy stamping!

Jo

~Making the world a happier place, one card at a time


Bye..Bye..Bye

04-22-20_header_last-chance_na

With the anticipation of the new Annual Catalog also comes the sadness of saying good bye to some of our favorite sets, colors and accessories. What are some of your favorites? If there are any items on the retired list that have been on your wish list, now is the time to get them before they are gone!

See Annual 2019-2020 Catalog Retired List Here

See January – June 2020 Mini Catalog Retired List Here

Place an order over $35.00 using the host code DJPSQ474 and receive a Designer Series Paper Sampler as a personal thank you from me! Your sampler will be mailed to the address on your order at the end of May.

SHOP NOW 

Here are some of my favorites that are retiring.  Remember, this is just a partial list of all the products leaving, be sure to view the entire list by clicking above.  And don’t forget to place your orders as soon as possible, the retiring products are only available until June 2, 2020 or while supplies last.

From 2019-2020 Annual Catalog:

From January – June 2020 Mini Catalog:
If you have any questions on any of the retiring products, please let me know!
Happy stamping!
~Jo
~Making the world a happier place, one card at a time!

Happiness Blooms Suite

It’s been some time since I have posted and I am excited to be back sharing some projects with you!  I finally had some time to play this weekend and once I got started with this suite it was hard to stop!!

img_2376

Cards made using the stamp sets Bloom by Bloom from the 2019 Occasions catalog and Part of My Story from the 2019 Sale-A-Bration Catalog

The minute I saw this suite at OnStage in Orlando I knew I had to have it. I just love the bold images and bright colors, it just makes me happy looking at it!  But I think my favorite thing about this set has to be how all the products work so well together, the possibilities are bound only by your imagination.

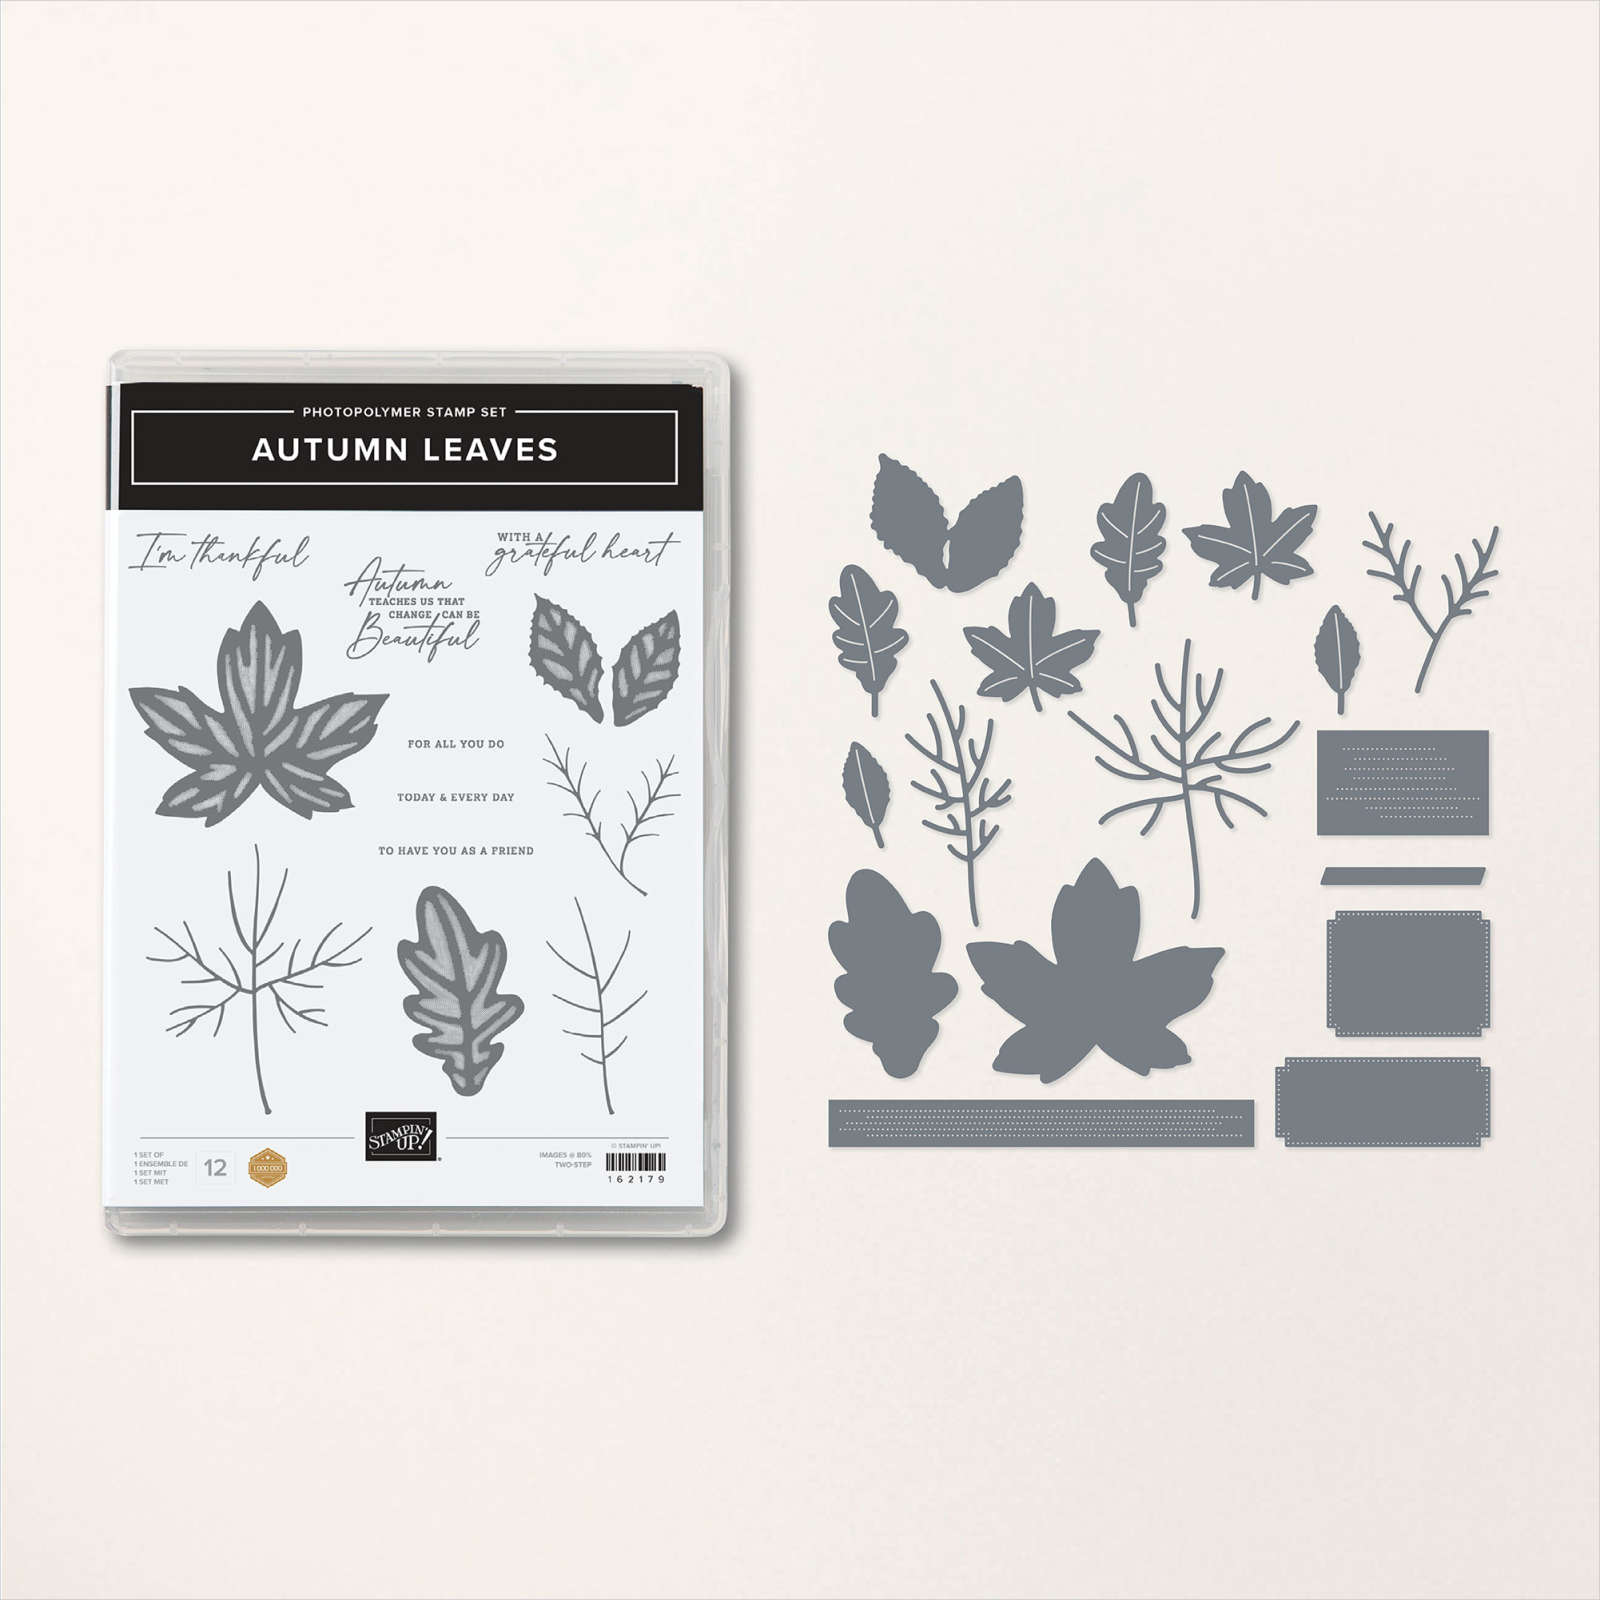
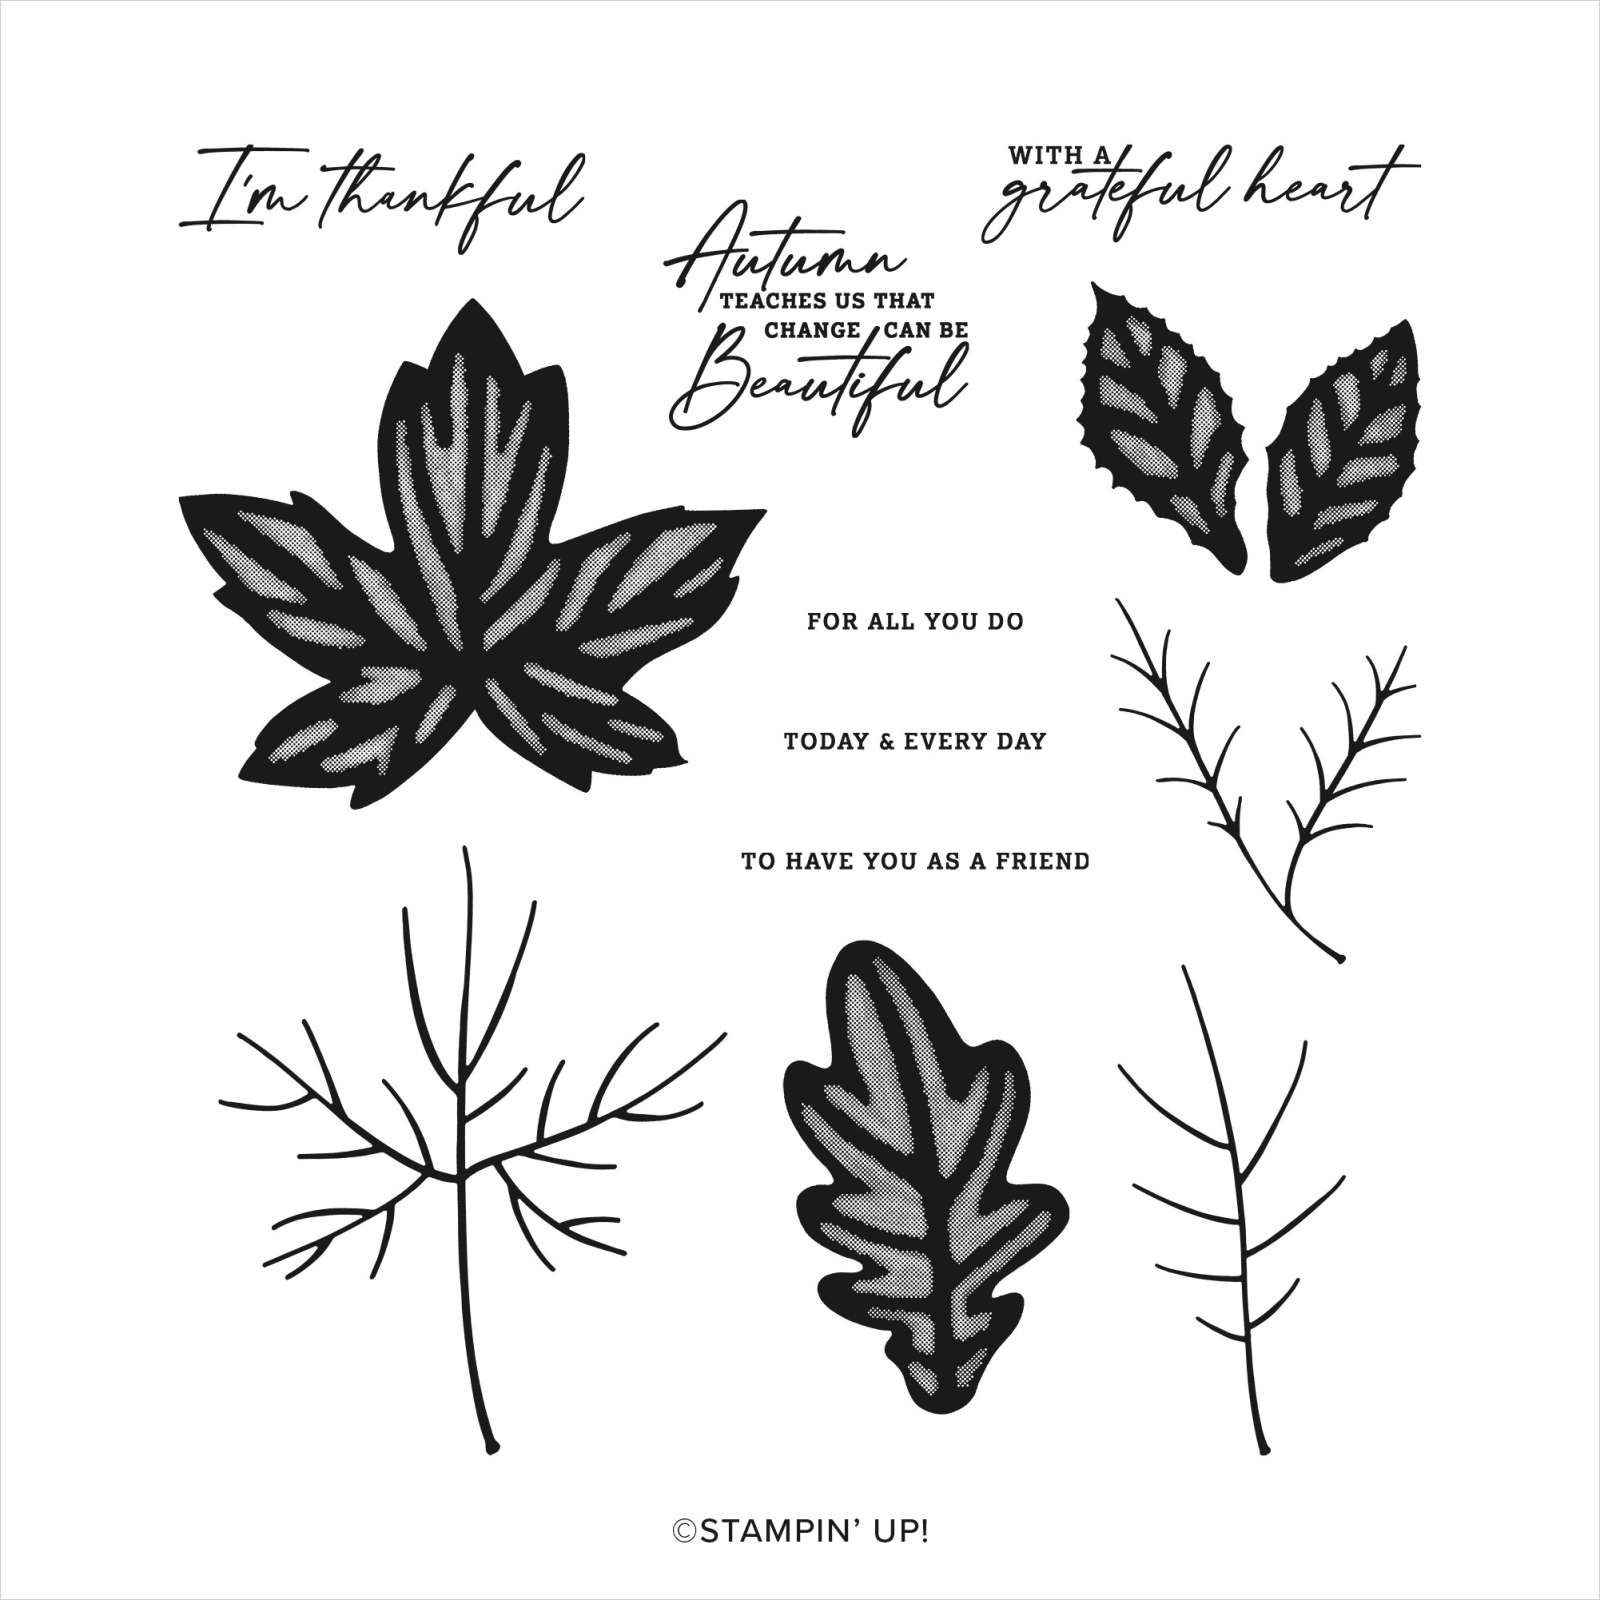
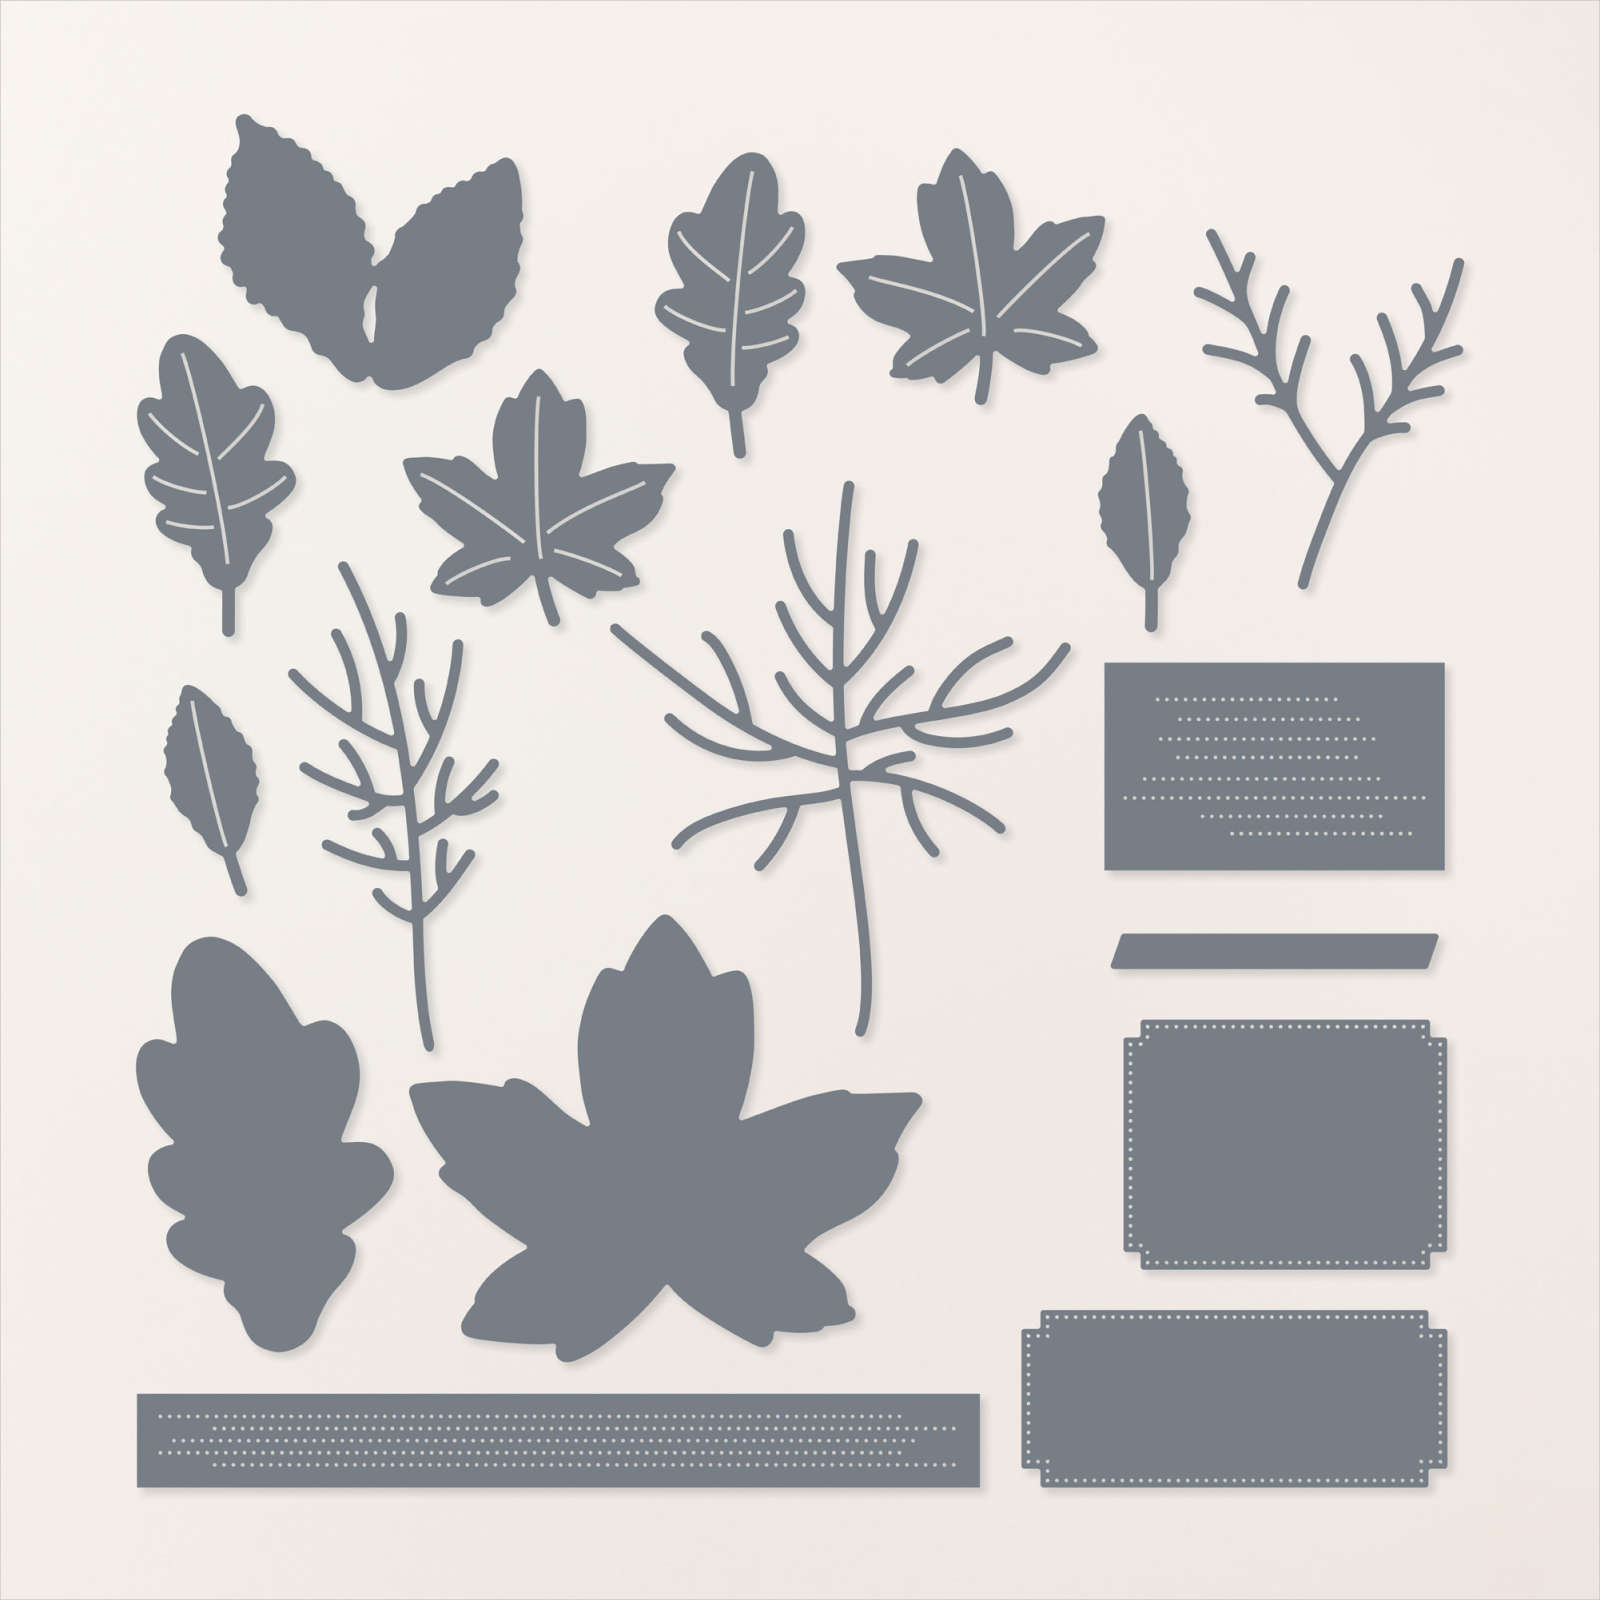
This suite not only contains a 17 piece photopolymer set and 4 mini punches, but there is coordinating Designer Series Paper (DSP), satin ribbon, enamel dots, a textured inpressions embossing folder, cardstock pack, and a Memories & More card pack with matching cards and envelopes!  This suite has so many pieces it takes up a full three pages in the 2019 Occasions Catalog.  Although the set doesn’t have any sayings, I found the exclusive Sale-A-Bration set, Part of My Story worked really well.  As a bonus, during Sale-A-Bration (SAB) spend $50 and you can get the Part of My Story set for free!

Lets get started!

img_2400

First up I used a sheet of Happiness Blooms DSP, matching Night of Navy and Pineapple Punch cardstock, Pineapple Punch 1/8″ grosgrain ribbon, Happiness Blooms enamel dots in Pineapple Punch and my go to Layering Oval framelits.  The saying is stamped using Call Me Clover ink.

img_2402

This card shows some versatility to the set.  I started with another sheet of the DSP, this time in stripes. Night of Navy is the card base and a layer behind the Whisper White piece making the stamped images really pop.   For the butterfly I used the smallest flower and Calypso Coral ink to make wings.  For the body I used the Dark Night of Navy blend and drew it freehand, adding little antennae.  A little epoxy heart was placed over the inked heart to give it a little shine. This card is very easy to make and doesn’t require any special tools, perfect for a beginning stamper.

img_2399

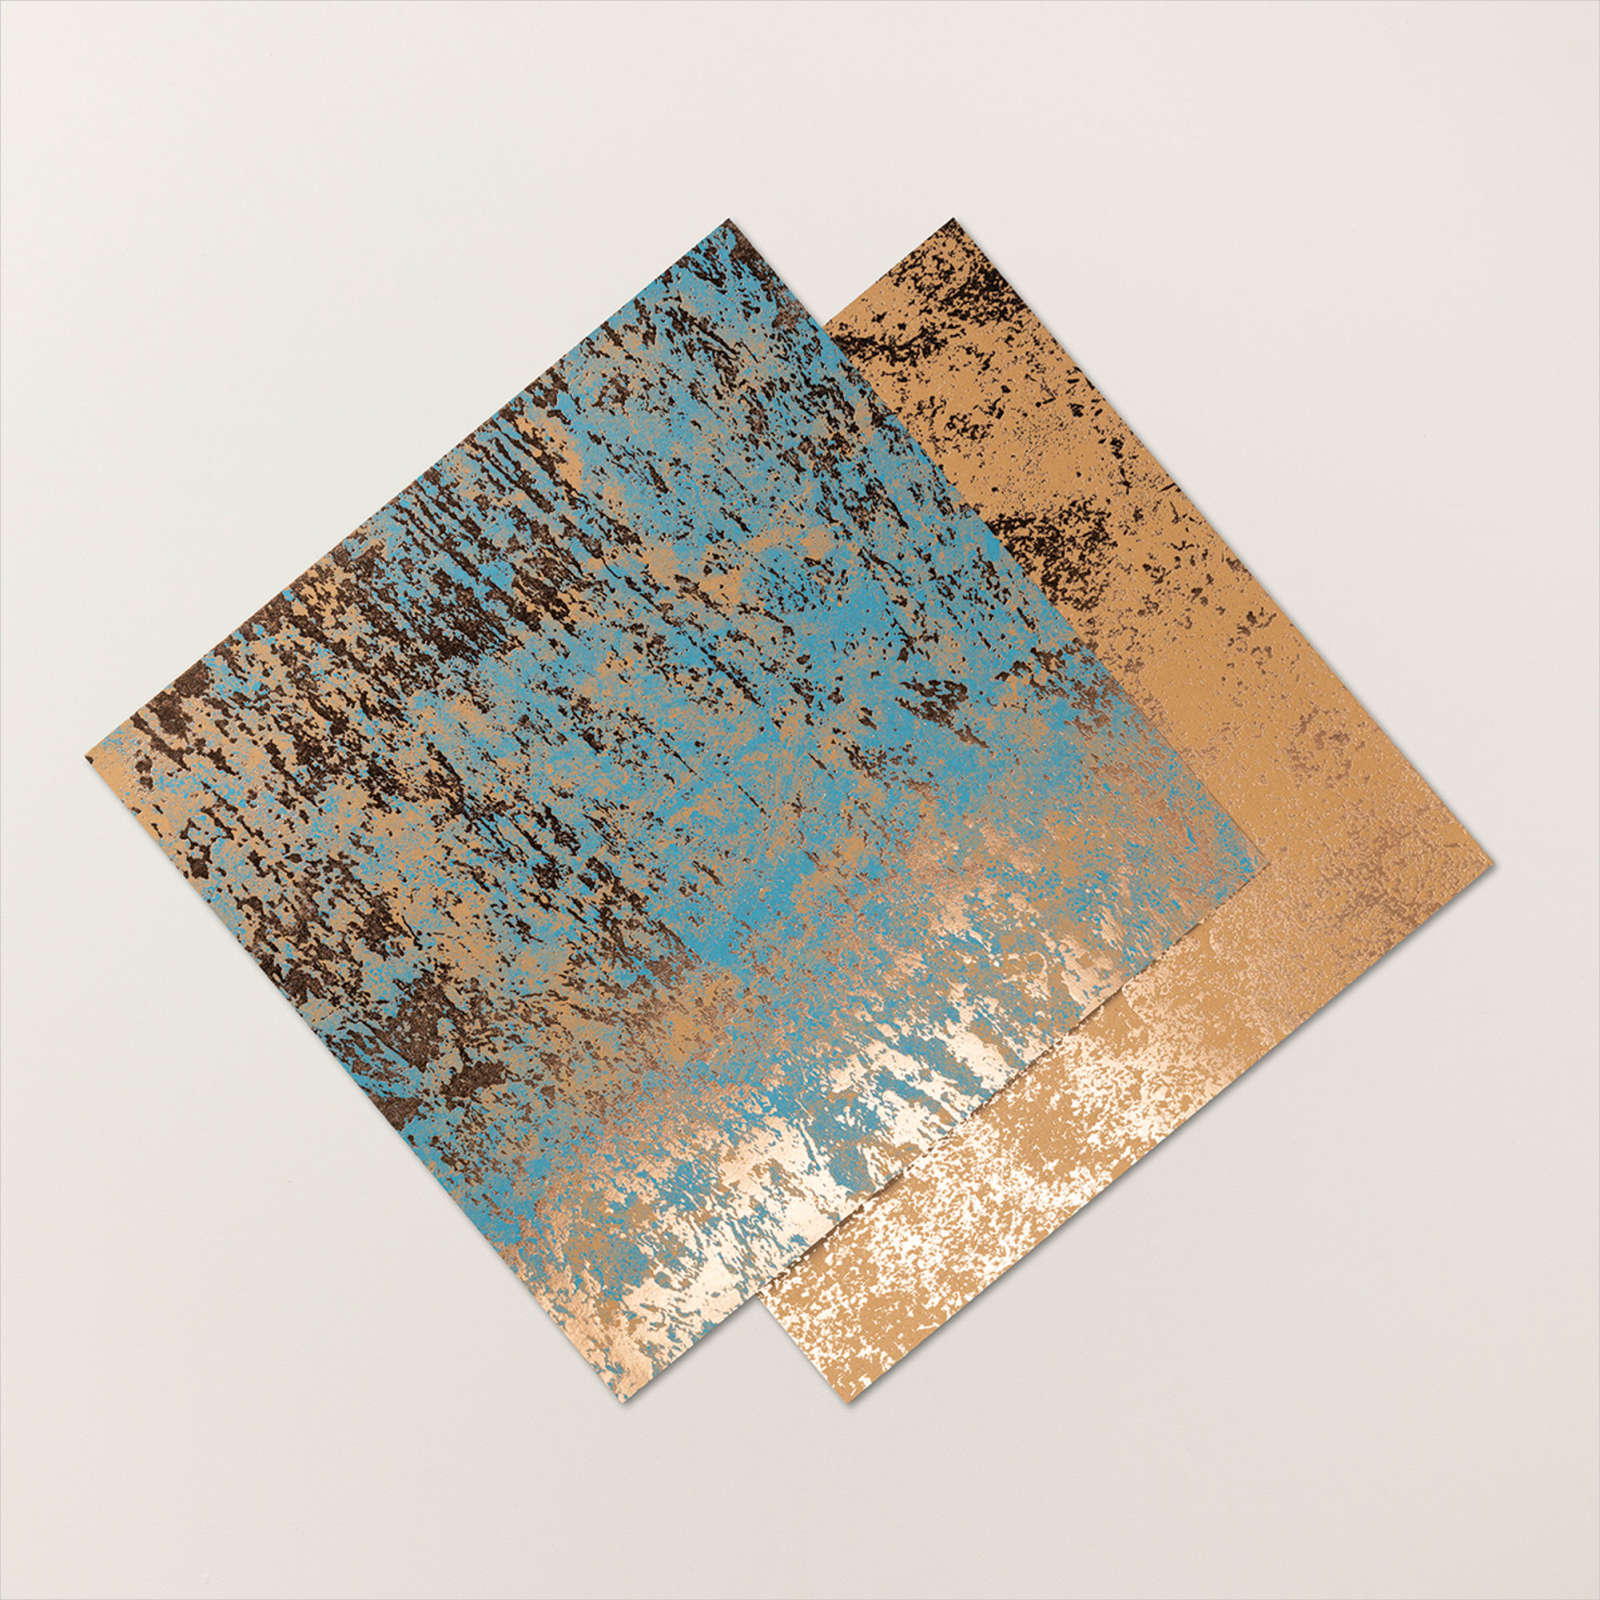
This card is stunning in person, since it showcases the Grapefruit Grove Foil Sheet, available only during SAB with a $50 purchase.  It has a holographic look and is a must have for one of your free SAB items! I wish I could have really captured the beautiful colors in the photo.

The foil sheet is embossed with the Dot to Dot Textured Impressions Embossing folder and paired with some DSP. A piece of Calypso Coral 3/8″ Satin Ribbon covers the seam and adds another layer of sheen to the card. Call Me Clover and Calypso Coral are the cardsock colors used along with Whisper White.  Inks used were Grapefruit Grove for the flower, Call Me Clover for the stem and Night of Navy for the little dots to match the DSP.

img_2390

Cards made using the Happiness Blooms Memories & More card pack and matching Memories & More Cards & Envelopes

After I played only with the the set and some of the products from the suite I really wanted to dive into the whole suite. You can make some really simple notecards and full sized cards using the Happiness Blooms Memories & Blooms Card Pack and the coordinating Happiness Blooms Memories and More Cards & Envelopes.

If you aren’t sure what a card pack is, the pack contains 50 double sided cards (2 each of 25 designs) in 3″ x 4″ and 4″ x 6″ sizes, 6 single sided 4″ x 6″ specialty cards (the designs are all embossed!!) and 4 coordinating sticker sheets.  The matching cards and envelopes  have small and large cards that fit the 3″ x 4″ and 4″ x 6″ cards perfectly.  One side is Night of Navy and the inside is white.  The envelopes are white and have Night of Navy stripes along the inside flap.

These are perfect for when you need a card but are short on time or just starting out with paper crafting and have limited supplies.  There is no stamping needed just attach one of the pre-printed cards to the front of the matching card and voila, a card ready to use!!  You can leave them as is or step them up a notch adding some embellishments such as stickers from the card pack or from the suite.

img_2396

This is a perfect example of just attaching the card to the front of a little notecard like the card on the left.  It looks great as it is, the saying is already pre-printed and has a coordinating border.  If you have a few more minutes go ahead and step it up a bit.  I added a few enamel dots to the center of several flowers,  then I punched a matching flower using one of the Bitty Blooms mini punches and Lovely Lipstick cardstock.  I added an enamel dot to match the ones on the card and raised it with a mini dimensional.

img_2394

For these two I added “Time to Celebrate”, one of the stickers from the card pack, to the Congratulations card with mini dimesionals and a few enamel dots here and there.  On the little Love and Laughter notecard, I kept it simple with just a small Pineapple Punch 1/8″ grosgrain ribbon bow.

img_2393

On these two I added stickers from the card pack to both cards.  Everything is so beautifully coordinated it really makes these cards easy.  To give them a little dimension the flowers were raised with mini dimensionals.

img_2393

These two were very simple.  Since the backgrounds were so pretty I only wanted add a small embellishment.  To each I added flower stickers from the card pack and to make them pop some a little enamel dot in the center.

img_2395

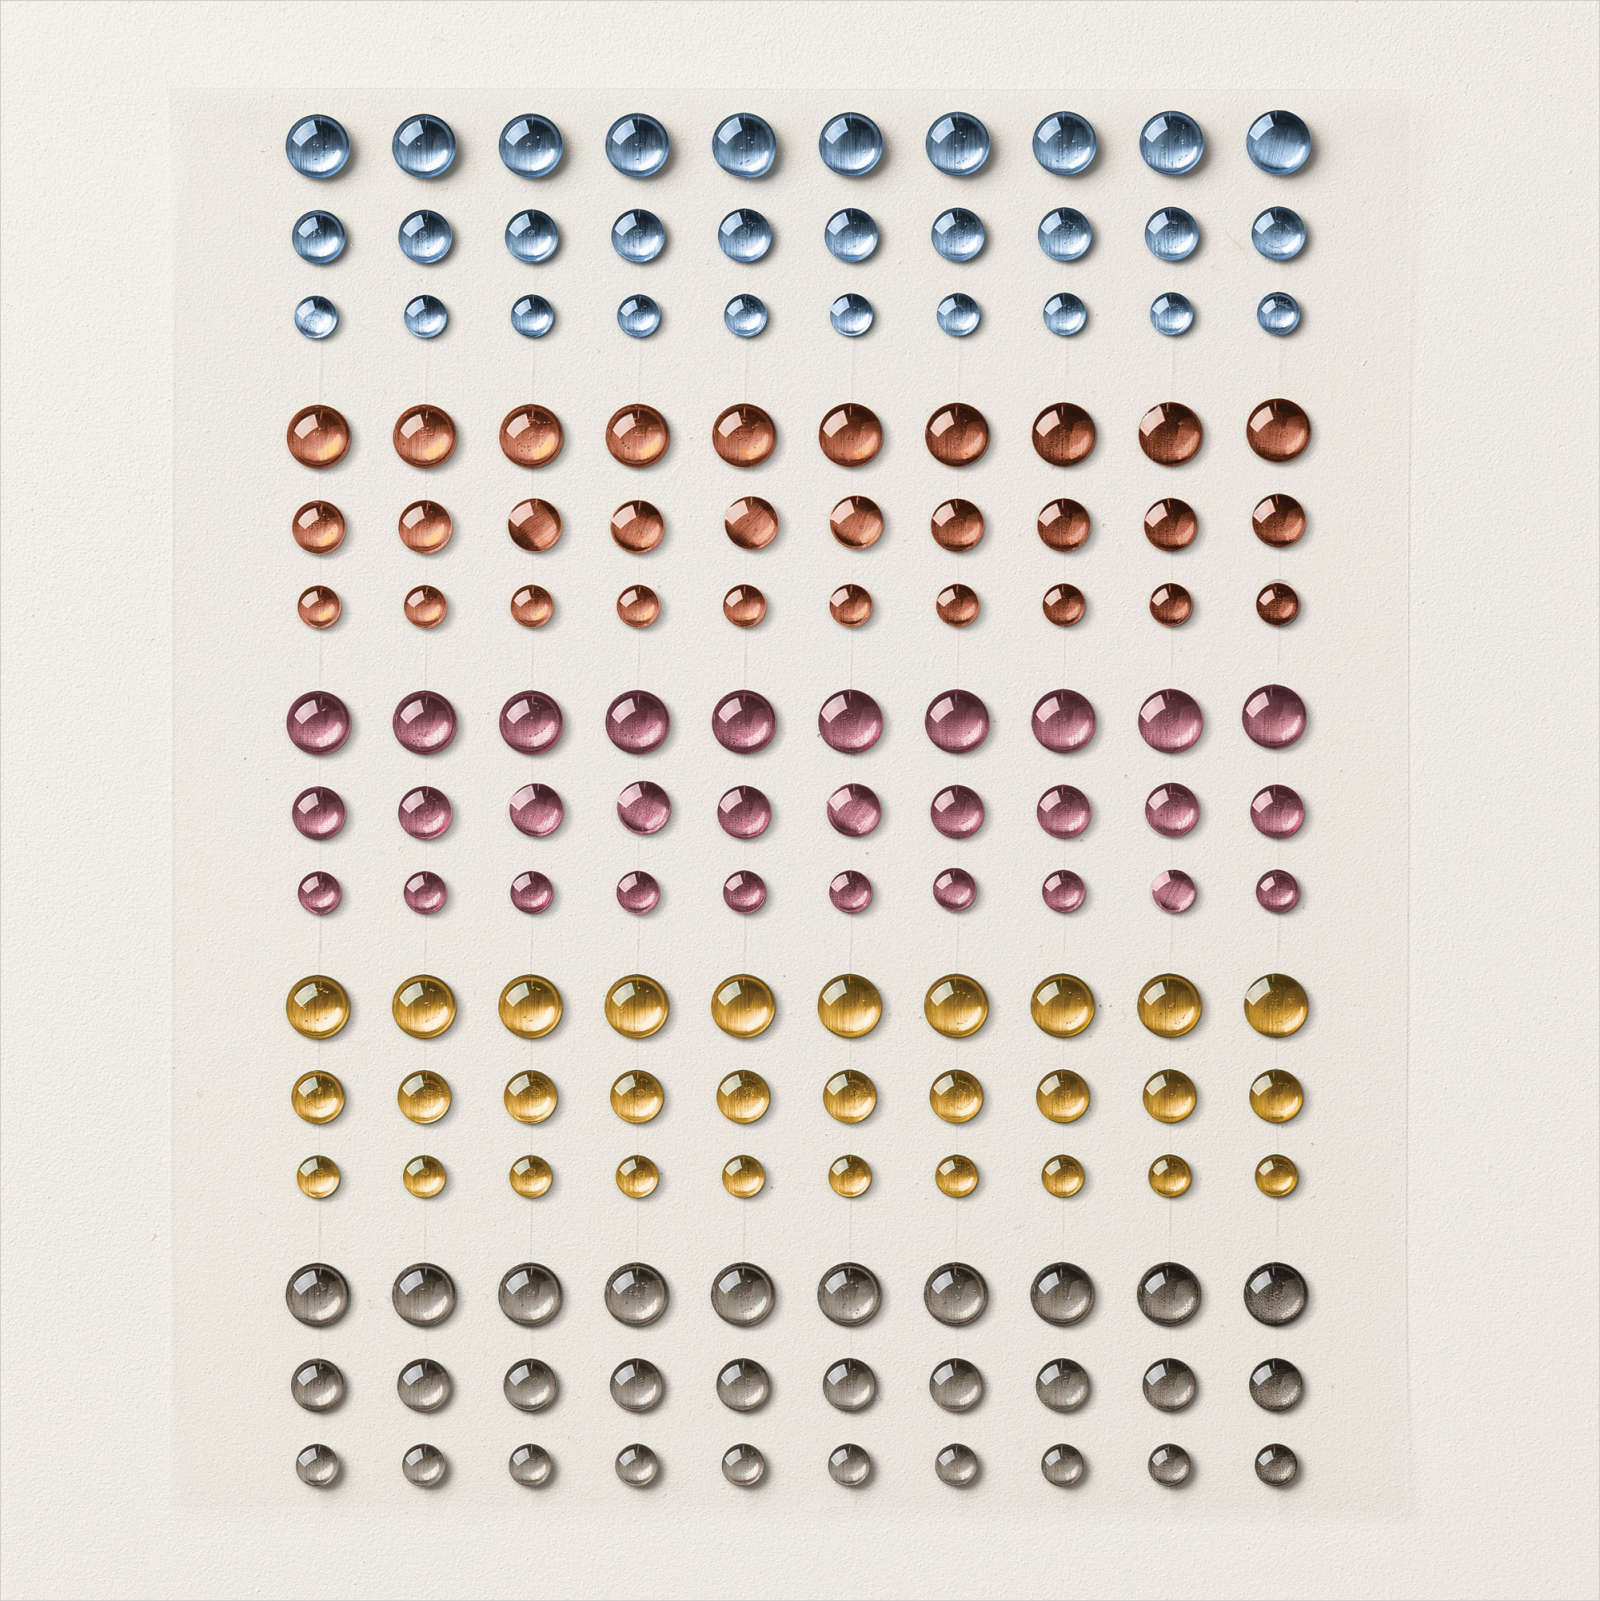
To the Thinking of You card on the left I added the little strand of  circles, another sticker from the pack and three sizes of enamel dots.  To the Love & Happiness card I colored two of the small Epoxy Heart Droplets with a Dark Flirty Flamingo Blend.  Since the marker is alcohol based you can color these embellishments to match your project or leave as is and it won’t wipe off.

img_2403

These two cards I stepped up a little bit more.  For the Happy Birthday card I punched the small flowers from a sheet in the Happiness Blooms DSP pack and added enamel dots to the center of each.  Then each was attached to the card with a mini dimensional and I  added a bow made from two pieces of Night of Navy Baker’s Twine.  The notecard on the right uses stickers from the pack including “Thank You”, flowers and leaves.  Again they were attached to the card using mini dimensionals.

img_2397

This last card really steps it up.  I used one of the specialty cards from the pack that is embossed.  It’s really hard to see the embossed flowers in this picture but the one below really shows how shiny they are.

img_2398

Instead of using the coordinating cards from the suite I used a Lovely Lipstick cardbase and a layer of Night of Navy behind the embossed flower card. I cut an oval piece from the center of the floral panel before attaching to the Night of Navy panel since this will be covered by the saying. This really gives you more out of your specialty paper. From the piece I cut out, I punched the little flowers out using one of the Bitty Blooms punches.  To get the leaves I cut a small narrow strip from one of the other specialty cards that had embossed Call Me Clover circles and punched little leaves using the leaf punch from the Bitty Blooms punch pack. The saying is from Part of My Story and I stamped it in Night of Navy ink on a large scallop of Whisper White cardstock.   This was mounted to an oval of Night of Navy and attached to the card using dimensionals.

I hope you have as much fun with this set as I did this weekend!

If you purchase the entire suite, add a pack of mini dimensionals and a roll of ribbon you will get to $100.00 giving you both the Foil Sheets and the Part of My Story stamp set for FREE!

To learn about Sale-A-Bration and see other products you can earn CLICK HERE.

Products Used:


If you would like to get a notification each time I post a project share, specials from Stampin’ Up! or myself, class schedules or video tutorials, please make sure you click “Follow By Email” at the top of this post.  That way you won’t miss a thing!

As always, please feel free to share any post on Pinterest or Facebook! If you are interested in attending classes or any of my all day events be sure to visit my events page for a current schedule.

Happy Stamping!

~Jo

Making the world a happier place, one card at a time!!!

Watercolor Four Panel Birthday Card

Happy Wednesday!

100_0702For my first card idea I picked this one, which has been really popular on Pinterest. Since I posted it about a month ago it has been repinned almost 500 times!  Watercoloring is one of my favorite things to do, I think of it as grown-up coloring. It brings me back to my box of crayons and my coloring books as a little girl, so relaxing! It’s also a pretty easy technique for any level of stamper, there really is no right or wrong way to do it. You can just stamp and color or if you are feeling adventurous you can add some depth and shadows. I also love the layout of this card, the way the corners are rounded on two sides of each square, it really makes a beautiful focal point to the card. Have fun creating!

’til next time!!

~Jo

Supplies Used:

Sizes of cardstock:

Elegant Eggplant  – 1 piece (5 1/2″ x 8 1/2″, scored at 4 1/4″)

1 piece (3 1/2″ x 3 1/2″, cut into 4 squares 1 3/4″ x 1 3/4″)

Tip Top Taupe – 1 piece (4″ x 5 1/4″)

Shimmery White – 1 piece (3 1/4″ x 3 1/4″

Directions:

Attach Tip Top Taupe panel to the Elegant Eggplant card base and set aside.

100_0747

Stamp your flower and butterfly from the Best Thoughts stamp set onto the Shimmery White cardstock using the StazOn pad. This stamp set is an exclusive hostess set, with any qualifying workshop or individual order of $150 or more you can purchase this set for $10.00! The StazOn pad is perfect for watercolor as it is a permanent ink and will not bleed.

100_0751

With your ink pad closed, squeeze the pad to create a nice pool of ink in the cover. Use your Aqua Painter to pick up the ink and color your image. It makes it so easy to watercolor, no need to keep dipping your brush in water, it’s right in the pen!  If you want to have some sections of the image appear darker, apply the watercolor in layers, this way the cardstock won’t get too wet. I apply a base layer, then after it has dried a little I go back in and apply more color to create some depth.

100_0752100_0757100_0759

After the panel is dry, cut into four equal squares of 1 5/8″ x 1 5/8″.

100_0760

Sponge the edges using Tip Top Taupe ink. I also like to add a little to the white area so it creates a nice antique look.

100_0763100_0766100_0768

Use the corner rounder on each small square, as shown in the sample, this creates that interesting four panel effect.  Then mount each on the Elegant Eggplant squares using Fast Fuse adhesive. I found that it was easier to round the corners of the Elegant Eggplant squares after I attached the stamped image. Attach each section to the card using the Stampin’ Dimensionals, this gives it a nice raised look.

100_0769100_0770100_0771

Last step, stamp your greeting in Elegant Eggplant using the Happy Birthday image from the Butterfly Basics stamp set and now you have a lovely work of heart!

100_0772100_0773