
The Stamparatus has so many uses. One of my favorites is getting the exact placement of stamped images when using a builder punch.
For this project I wanted to use the snowman, two arms and the hat. To save cardstock the easiest way is is to use the stamparatus and a template. Here are the step by step directions.
Step 1: Using a piece of cardstock for the template, insert and punch out all the pieces.

Step 2: On the grid paper, draw a line around the template

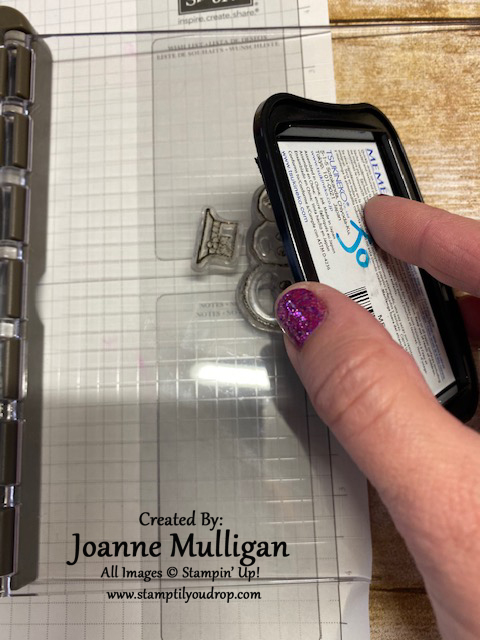
Step 3: Place magnets on template to secure

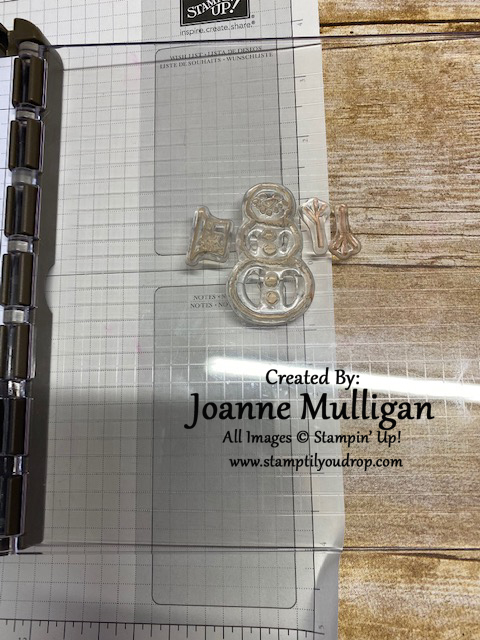
Step 4: Place stamps inside the template, make sure the smooth side is up and the image side is down

Step 5: Close the Stamparatus cover
Step 6: Images will now be on the acrylic plate according to the template
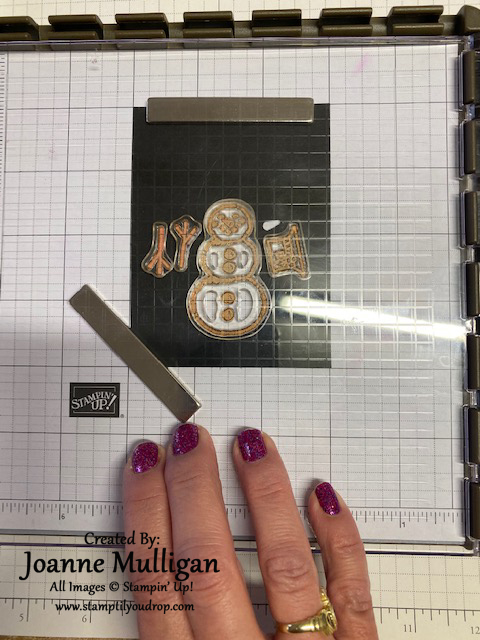
Step 7: Place cardstock to be stamped inside the drawn area so the stamps line up where the template was, secure with magnets

Step 8: Ink stamps
Step 9: Close, then press to stamp the images.
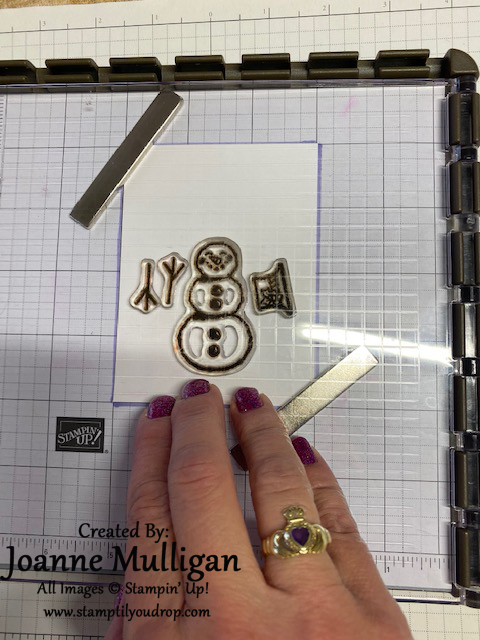
Step 10: Remove, color as desired

Step 11: Place in punch and viola, the images line up perfectly!!

Step 12: Punch out and assemble card


